
The last time I was able to work on the pistol, I ended up here:

Since then, I’m pleased to say I’ve made what feels like some real progress! I’m not able to work on it as much as I’d like to, but a few hours here and there does eventually start to add up.
The first tasks I decided to tackle were to take care of some of the holes that are in the pistol, either by design, or because I modified something. (Or because this belonged to my son beforehand, and he lost some pieces, like the base of the grip. That’s okay, I wanted to change the shape of that anyway.)
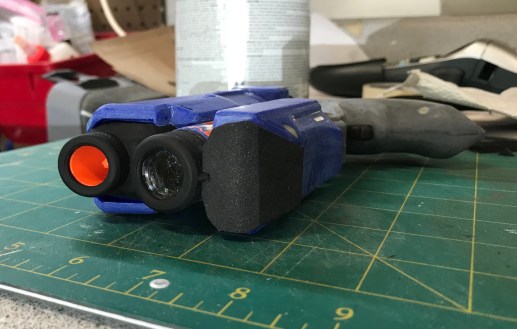
I covered over and beveled the back of the pistol to disguise the hole I made when I cut the charging handle for the nerf gun out of there. (Goodbye functional nerf pistol! And hello, whatever this is!) The shape is only loosely based on the Borderlands gun. I may dress it up a bit later to get it closer, but for now, the ugly hole is gone.
So back to the grip… Originally, it looked like this:
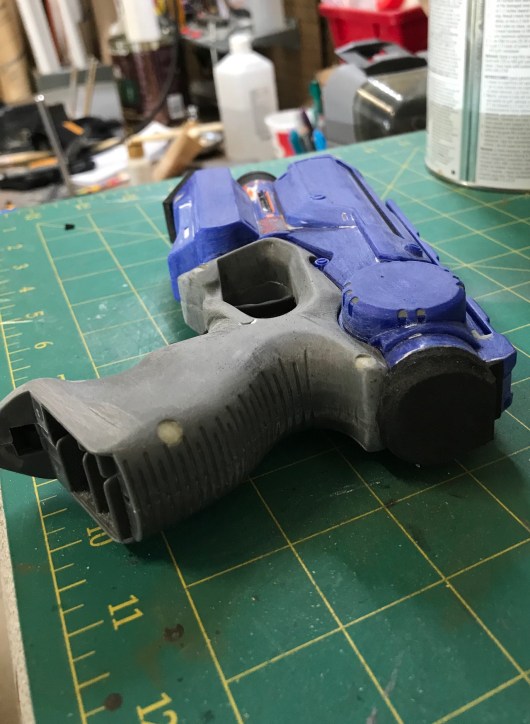
My original thought had been to somehow incorporate that weird little nub that used to hold on the end of the battery compartment, but after trying to wrap my head around how I was going to clear that, I decided simply to lop off the offending piece. A short while later, and with the help of my trusty hacksaw, I had something that was going to be a lot easier to deal with.
It wasn’t completely flat, but that gave me something *much* easier to work with. I also roughed out some additions on the grip. I wanted to get those done before finished the base of the grip.
After checking my reference photos about 5,000 times, I got some tracing paper to get to work on making a template. It took some doing. Even with the paper, the shape of the pistol is very complicated, but after some fiddling, and lots of drawing and cutting, and redrawing and recutting, I had something I could work with.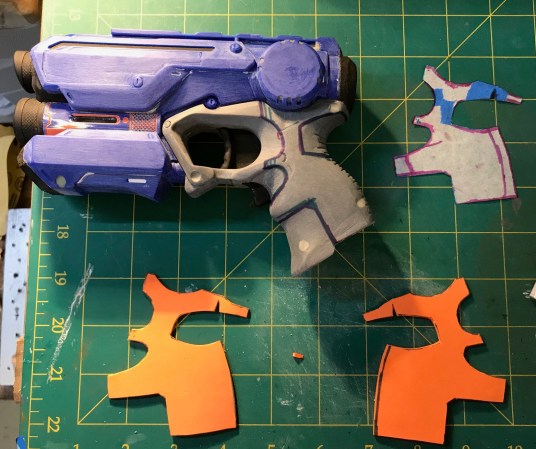
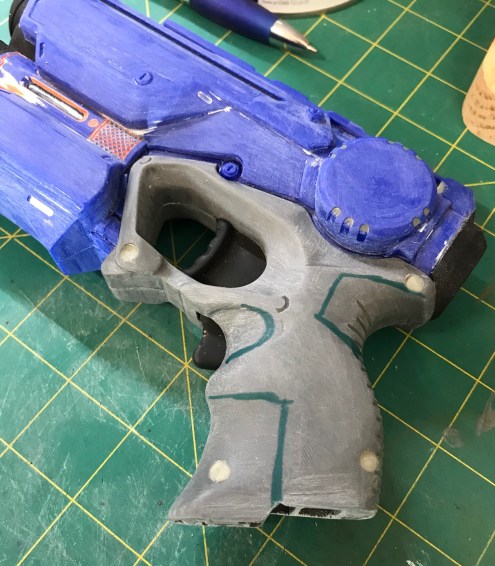
I traced my pattern onto some 2mm craft foam, then used contact cement to adhere the pieces to the grip. I smoothed out my seams with my rotary tool and the fine sanding drum bit. I’ll need to go back and do some sealing to hide the last of my sins, but overall, it ended up looking pretty good.
While waiting for contact cement to dry, I started on the grip’s base. It’s bit and chunky in the game, and I really wanted to bring that over. I glued a couple of 10mm pieces of EVA foam together and used my bench sander to get the wedge shape. Then I roughed out the shape using a knife before refining it using the rotary tool. I needed a spaced at the bottom, not only to fill in the space I made when I cut the nub off the grip, but also to get a little closer to matching the shape in the game.
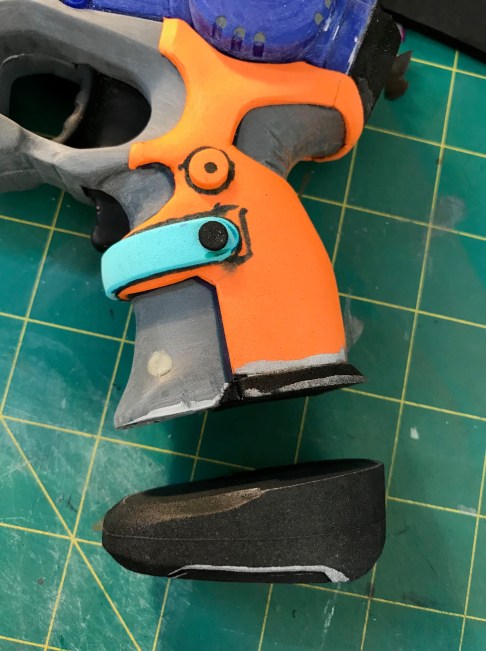
And of course, I needed to add some detailing in! The strapping and “rivets” are in the original design. The line on the bottom of the grip is also. That I made by scoring the foam, then hitting it with a heat gun to open up the lines. It’s a super simple technique, but one I love to see. It works so well!!
The last thing to do was glue the grip pieces together, then head in for dinner.
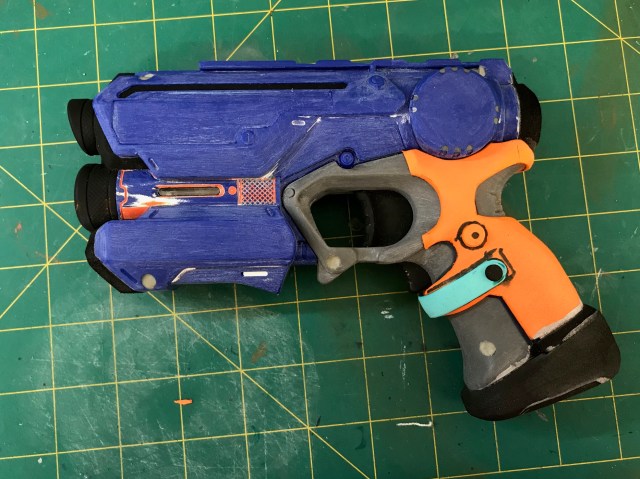
As far as accomplishments go, it wasn’t a huge day, but it was fantastic to finally be building things on to the pistol. The shape of the gun is starting to take come through, and I couldn’t be more excited for the next accessories!
