
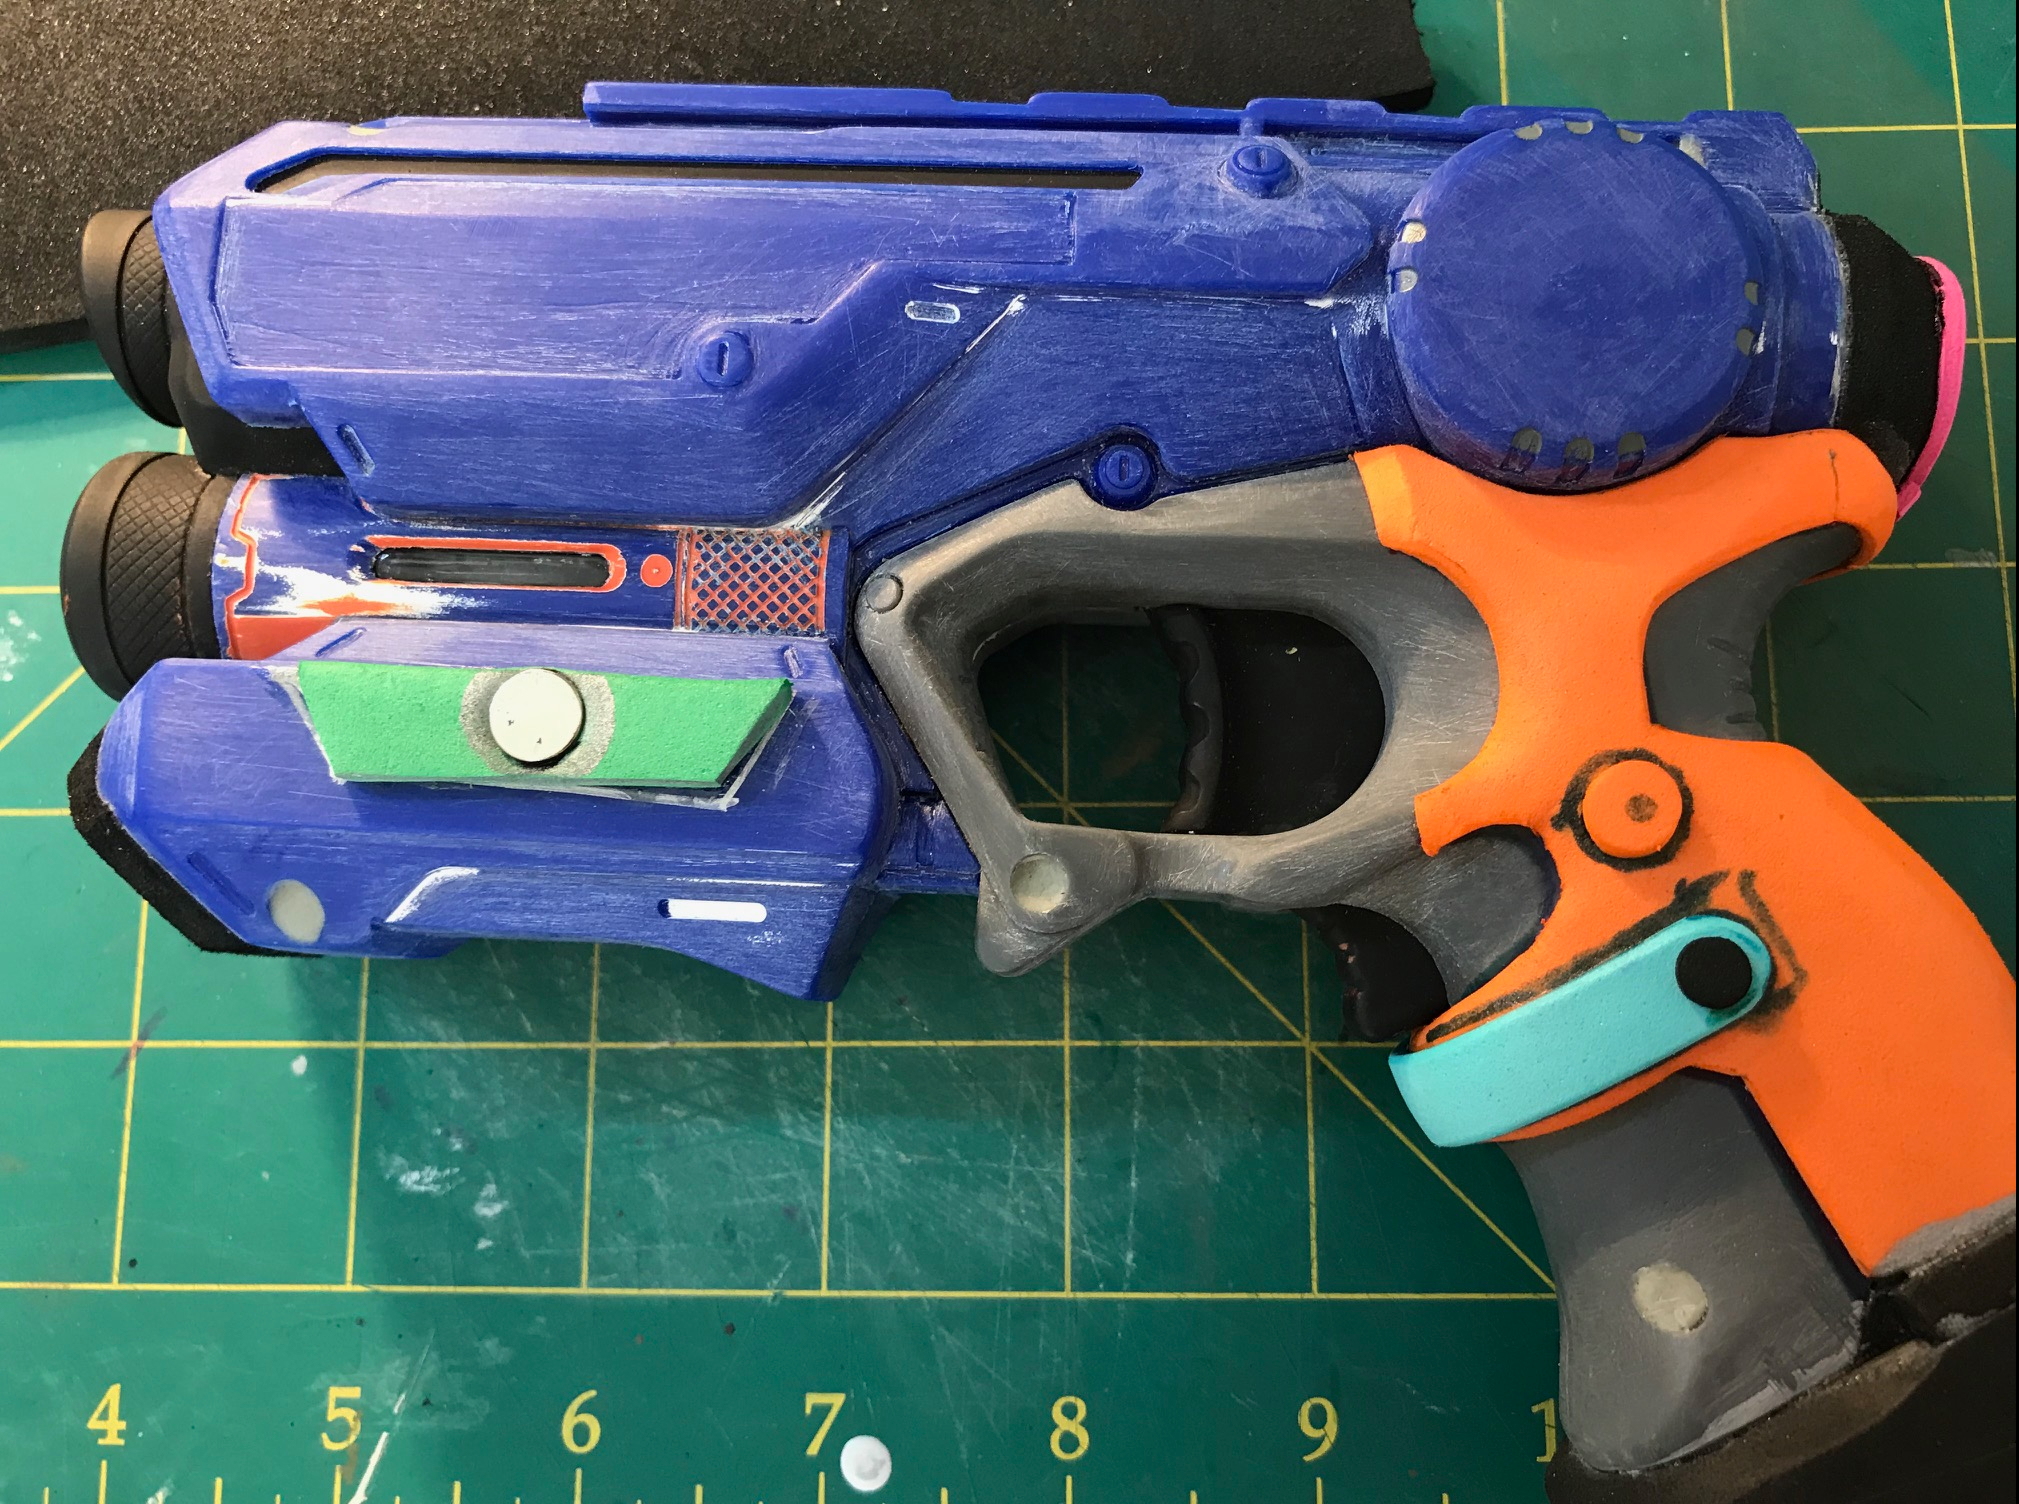
The last time I was able to work on the pistol, I left it here. Some progress was made, and it’s starting to look less like a Nerf gun, but it’s not exactly Borderlands material yet. 
One of the things (actually it’s many things) that makes Borderlands weapons so much fun are the endless variation in accessories that can be added to each weapon. Even when they don’t make sense. For example, the version of the Raptor that I’m making sports a barrel extension of some sort (is it a suppressor? an extended barrel? who can tell???) AND an itty-bitty bayonet. Those don’t play well together practically, but they look cool as hell, so I’m doing both.
Aside from the itty-bitty-bayonet I made a few sessions back, I hadn’t gotten to any of the fun bits, so I was excited to get started. I had a few things to tackle:
- Add a mounting point for the bayonet
- Make the little charging handle for the back
- Figure out how to make the suppressor/muzzle extender
- Make the foregrip
That’s a lot, but fortunately I had a full day in the shop.
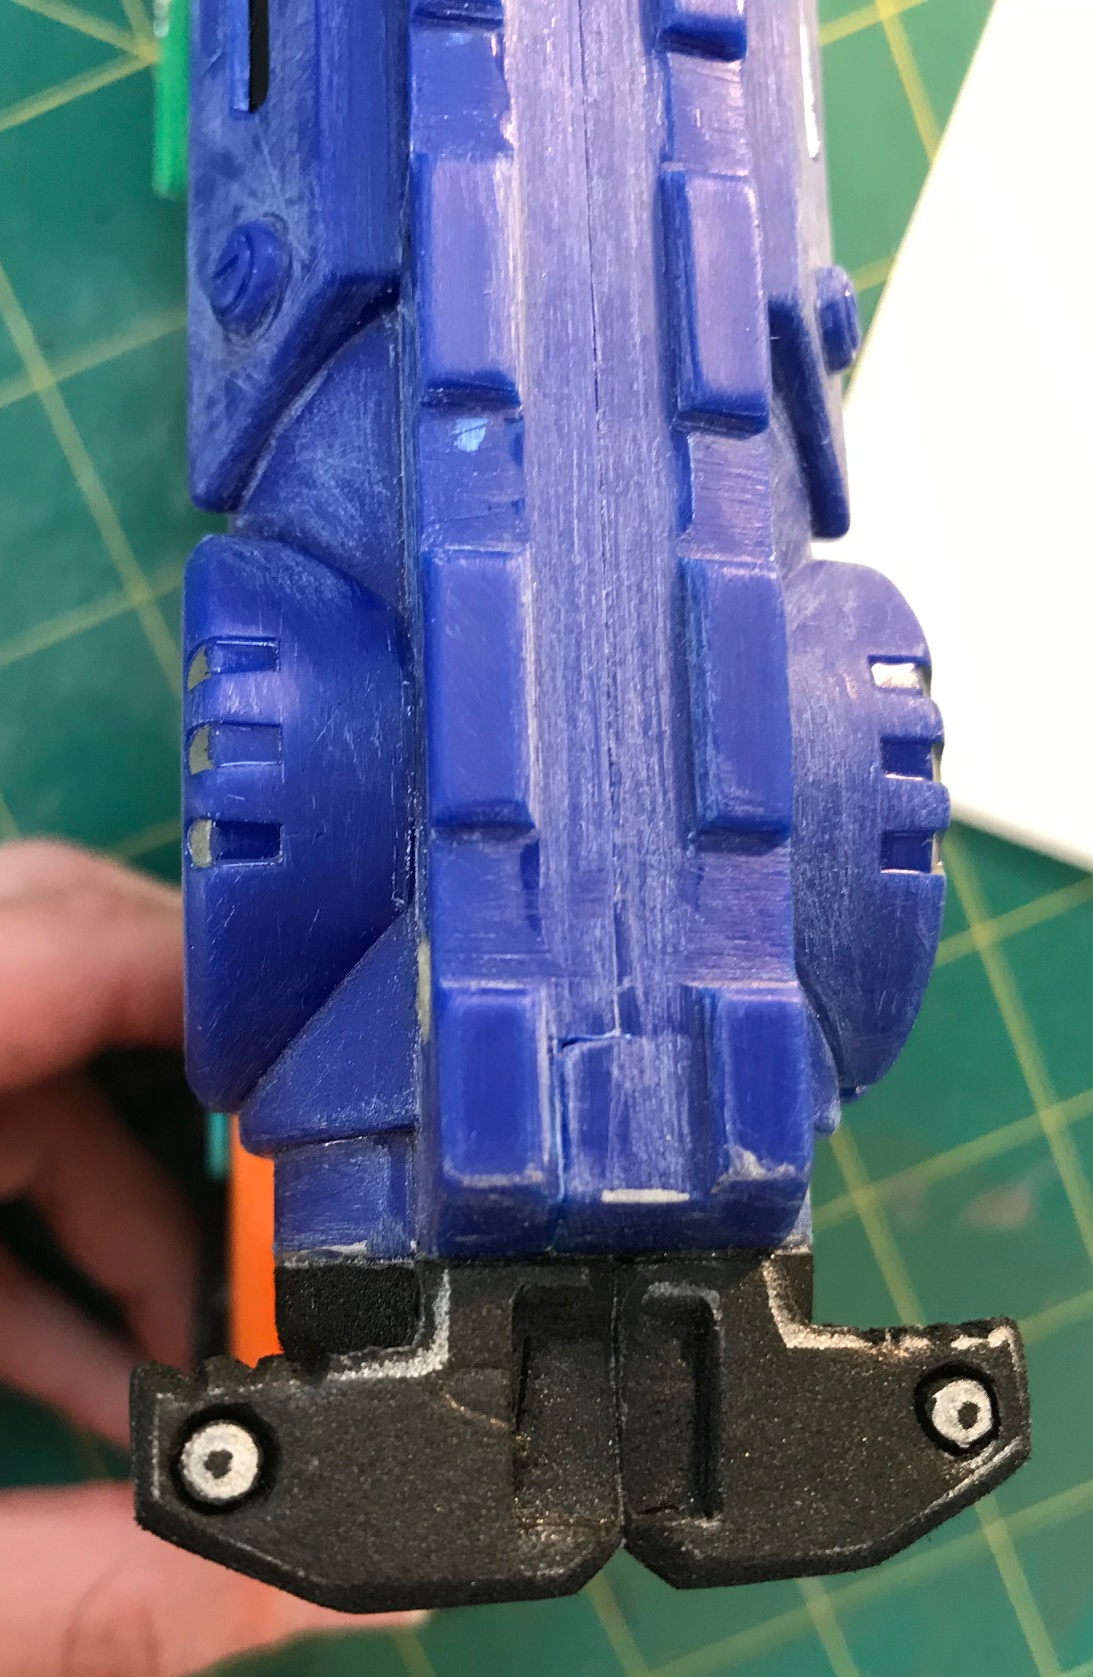
 I decided to start by modifying the back of the pistol. I’d left it pretty boring, which is definitely antithetical to the Borderlands look. Now the Raptor pistol is very squared off in the back, but this Nerf pistol is all sorts of round. I stuck with the rounded look, but decided to add the lip that is seen on the Dahl pistol. There’s also a little round divot taken out of the back. You can’t see it well in this crappy photo, but it’s there. I was able to make that using one of the stone grinding bits on my Dremel. I wasn’t especially pleased with the little bits attaching the round lip to the grip. They were all sorts of gappy, and only became more so when I hit them with the heat gun. I’ll be revisiting those when it comes time to prep for paint.
From there, I took a quick twenty minutes to add the attachment point for the bayonet. That ended up being a piece of 3mm craft foam that I drilled out to insert a magnet. I drill out the corresponding half of the bayonet and superglued another magnet in there and moved on with my life.
Easy-peasy right? Well, actually the magnets were too strong and I ended up pulling the one out of the bayonet pretty quickly. I wouldn’t figure that out for a few hours, and would end up fixing that little error another day. *sigh*
 From there, it was back to dealing with the pistol’s butt (heh-heh). Since I had the detailing on the back end figured out, it was time to add the charging handle. This is one of those fiddly bits that I usually leave to the end of a build. There’s something about them being so small that ends up looking wrong if it’s even the slightest bit off. It’s not that any of it was particularly difficult, but it needs to be symmetrical, and without much room for error. I count it as a great deal of personal growth that I decided to tackle it at this point in the build instead of waiting to the last possible moment.
So like I was saying, this wasn’t a difficult piece to build. I used some 4mm EVA foam and transferred my pattern onto it using a silver Sharpie. I cut it out, then beveled and shaped the various pieces, first by gingerly cutting the with a sharp knife, then by smoothing everything over with a fine sanding drum in my Dremel. The carved in the grooves on the inside of the handle with the edge of that drum. The circles were made by scoring the surface of the foam, then hitting it with the heat gun. I took my time and planned out my cuts and was able to do it in one go without having to redo. Once again, the picture isn’t great, but in real life, that handle is pretty dang close to symmetrical.
After that, it was a simple matter of affixing it to the gun, which I did with some contact cement. I’m a little concerned about how I’m going to make that transition look seamless, but that’s for future me to figure out when I’m prepping everything for paint. (Sorry future Lise!)
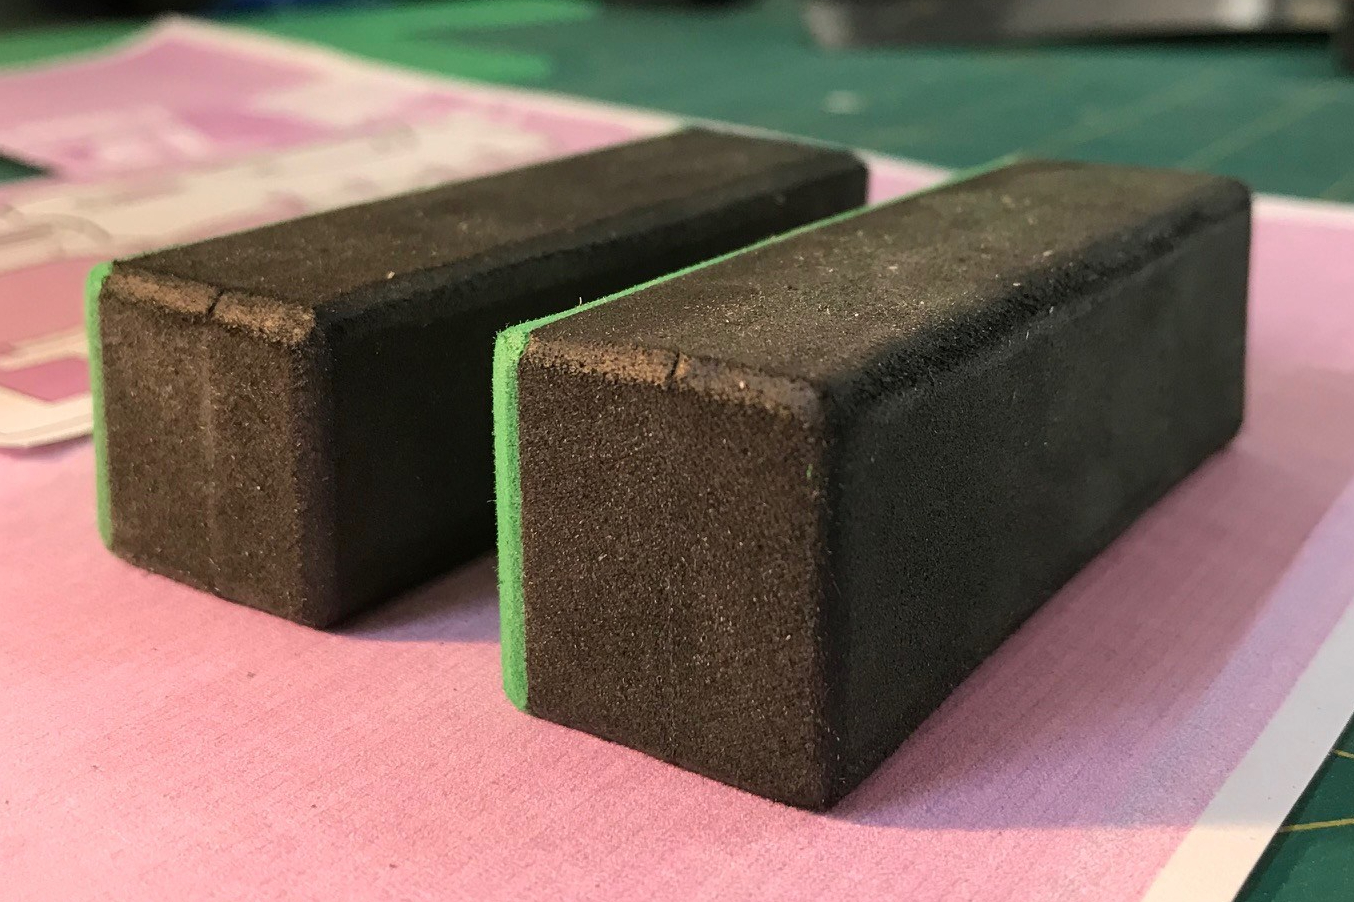 From one fiddly bit to the next… I was excited by my progress, so I dived right in to working on the suppressor-ma-jig. After a fair amount of thought on how to deal with all the cutouts in the design, I decided to make a solid core, and then do the cutouts on a piece of 3mm foam, which I would wrap around the core. Using my handy template, I sandwiched a few layers of EVA foam together, then rounded the long edges. And then I made another one. The wrapping technique seemed tricky enough that I wanted another core in case I screwed up the first one. It’s always easier to make two of something at once, then to make another one later, so I just went with it this time.
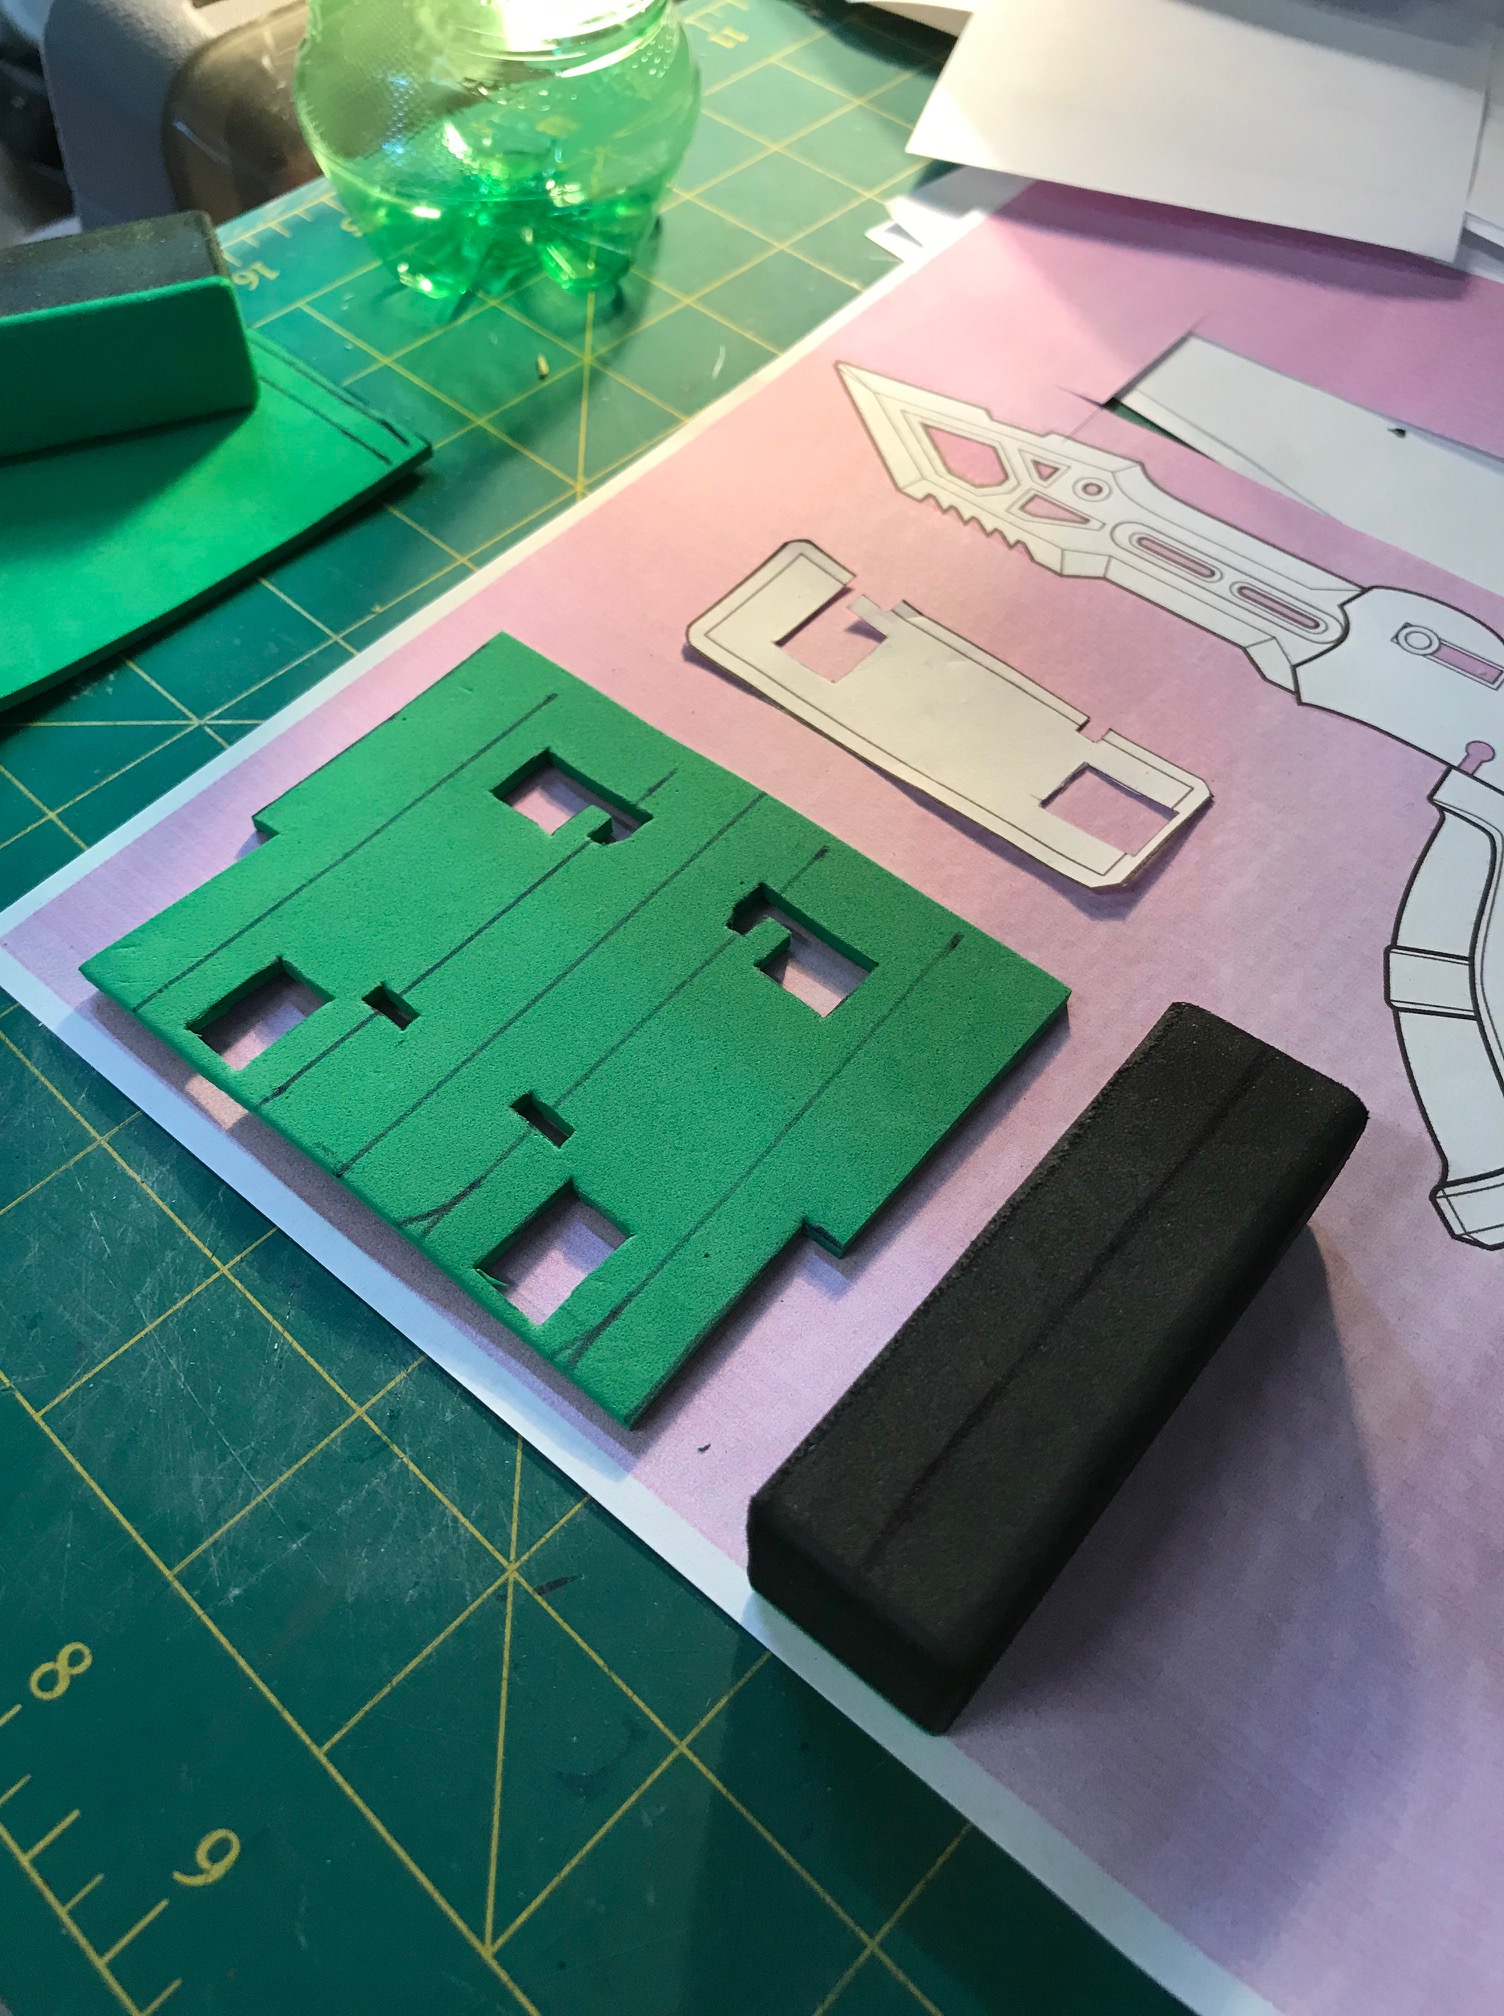 I found the center and measured the craft foam to the circumference on the piece. (Do you call it a circumference with it’s not a circle?) From there, I used the template to plan out the various cutouts. In the picture, you’ll see that I marked the corners on the 3mm foam. and used that to line up the cutouts. From there, I did some clean up, then I slathered the two pieces in contact cement and smushed them together. My first attempt was all right, but I didn’t line it up very well. I thanked myself for making a second core, added the cutouts to another piece of 3mm foam, and wrapped it again. The second attempt was so much better than the first!! After that, I glued a beveled circular piece into the end for the barrel opening, then I hogged out a circular piece to slip it over the Nerf gun’s barrel. That will eventually be glued in place. Finally, I did some cleanup and called that one done.
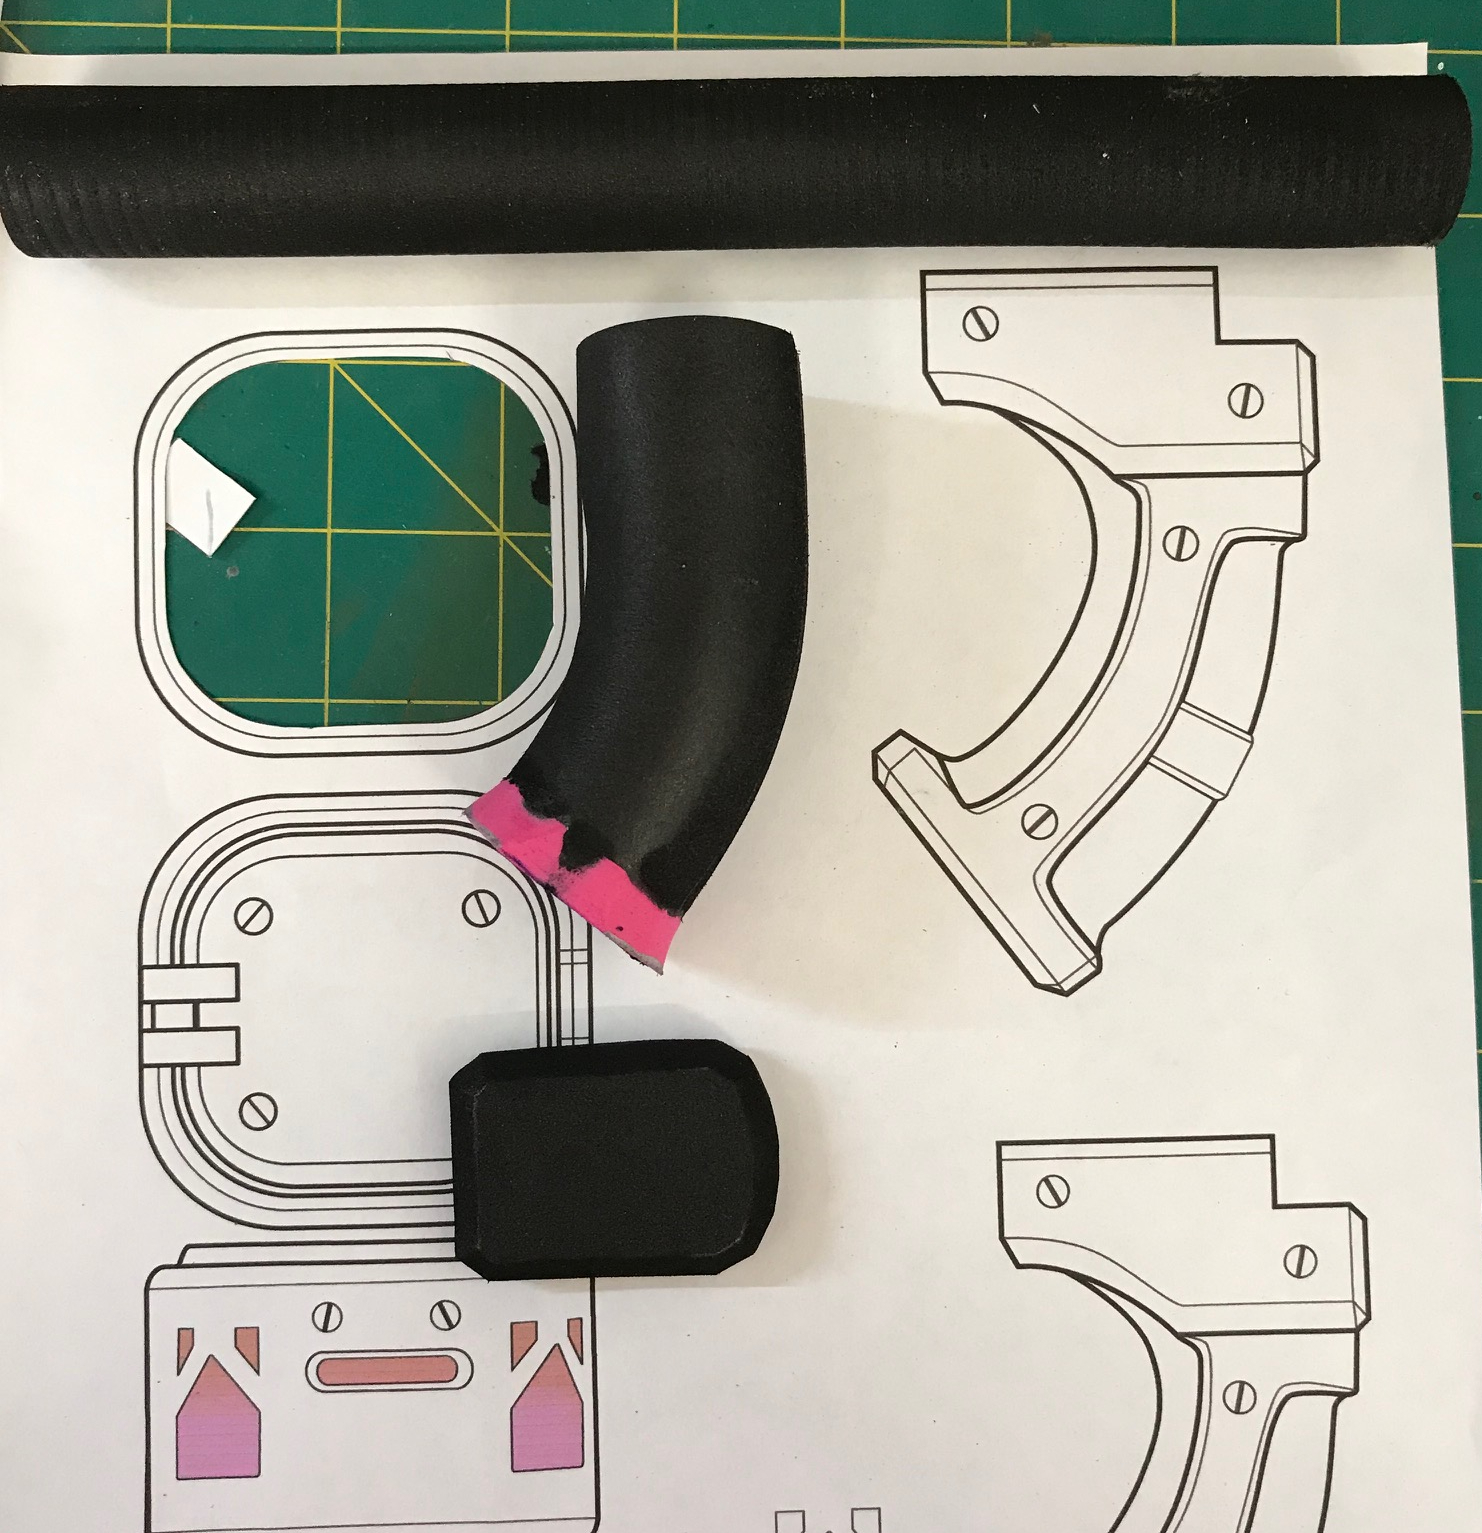 By this point, it was starting to get toward the end of the day. I was also being eaten alive by mosquitoes, which is a definite downside to having a garage workshop in the South. However, I was on a roll, so I pressed on. I really wanted to get some progress done on the foregrip. Once again, I started with the template. I had two slightly different sizes of foregrip to work with. The smaller was more to scale with the Dahl weapon in the game, but the larger was of a scale that would actually fit my hand. I ended up going with the larger one.
The first thing I did was snag a largish foam dowel from my foam stash. It wasn’t going to be quite big enough, but after I wrapped it with 4mm EVA foam, it was the thickness I was looking for. I wrapped a piece of 2mm foam around the bottom, then beveled it in to match the curve in the template. After that, I cut out and refined the bottom piece. That took a fair amount of trial and error. I’d only blueprinted out the side view, so I had to check my photographic references to get the shape really figured out. I was pretty happy with how that eventually turned out, but it took a minute. The shape is very complex. Once that was the way I wanted it, I used contact cement to glue the pommel piece to the longer handle part.
 After that, I needed to tackle the detailing along the side of the foregrip. This was going to be a bit challenging, given that the blueprint I’ve been working from is two-dimensional, while I had a three-dimensional, mostly cylindrical shape to work with. I started by cutting out the appropriate piece and mocking it up on the detailless foregrip I’d just finished. From there, I could see where I’d need to extend the piece to wrap around, so I mirrored the template piece onto some paper and extended the top part. Then I cut that one out and fiddled a bit to get everything lined up properly. Once I’d gotten it to my satisfaction, I taped the two sides together, smoothed out the joins in the middle, then transferred the whole design to some craft foam. I cut that out, then glued it to the handle using contact cement. Finally, I had to do some cleanup on the sides to maintain the tapered shapes on the pommel piece.

And with that, I came to a finish for the day. I couldn’t help but pull together what I’d finished to see how it looked, and it was definitely starting to get that Borderlands feel to it. There’s a lot going on with this gun, and still more pieces to come.
